

We love receiving photographs of your slow cooker creations and can’t thank you enough for the time you take to document your recipes and add them to the website. If you’re anything like me though, you sometimes struggle to get a really great photo of your masterpiece – something that really does it some justice. So I thought it would be a great idea to put together a few tips on taking great food photos. Never fear, you don’t need a fancy camera, in fact here are just a few simple tips to make your slow cooked food creation look even more amazing.
1. Presentation
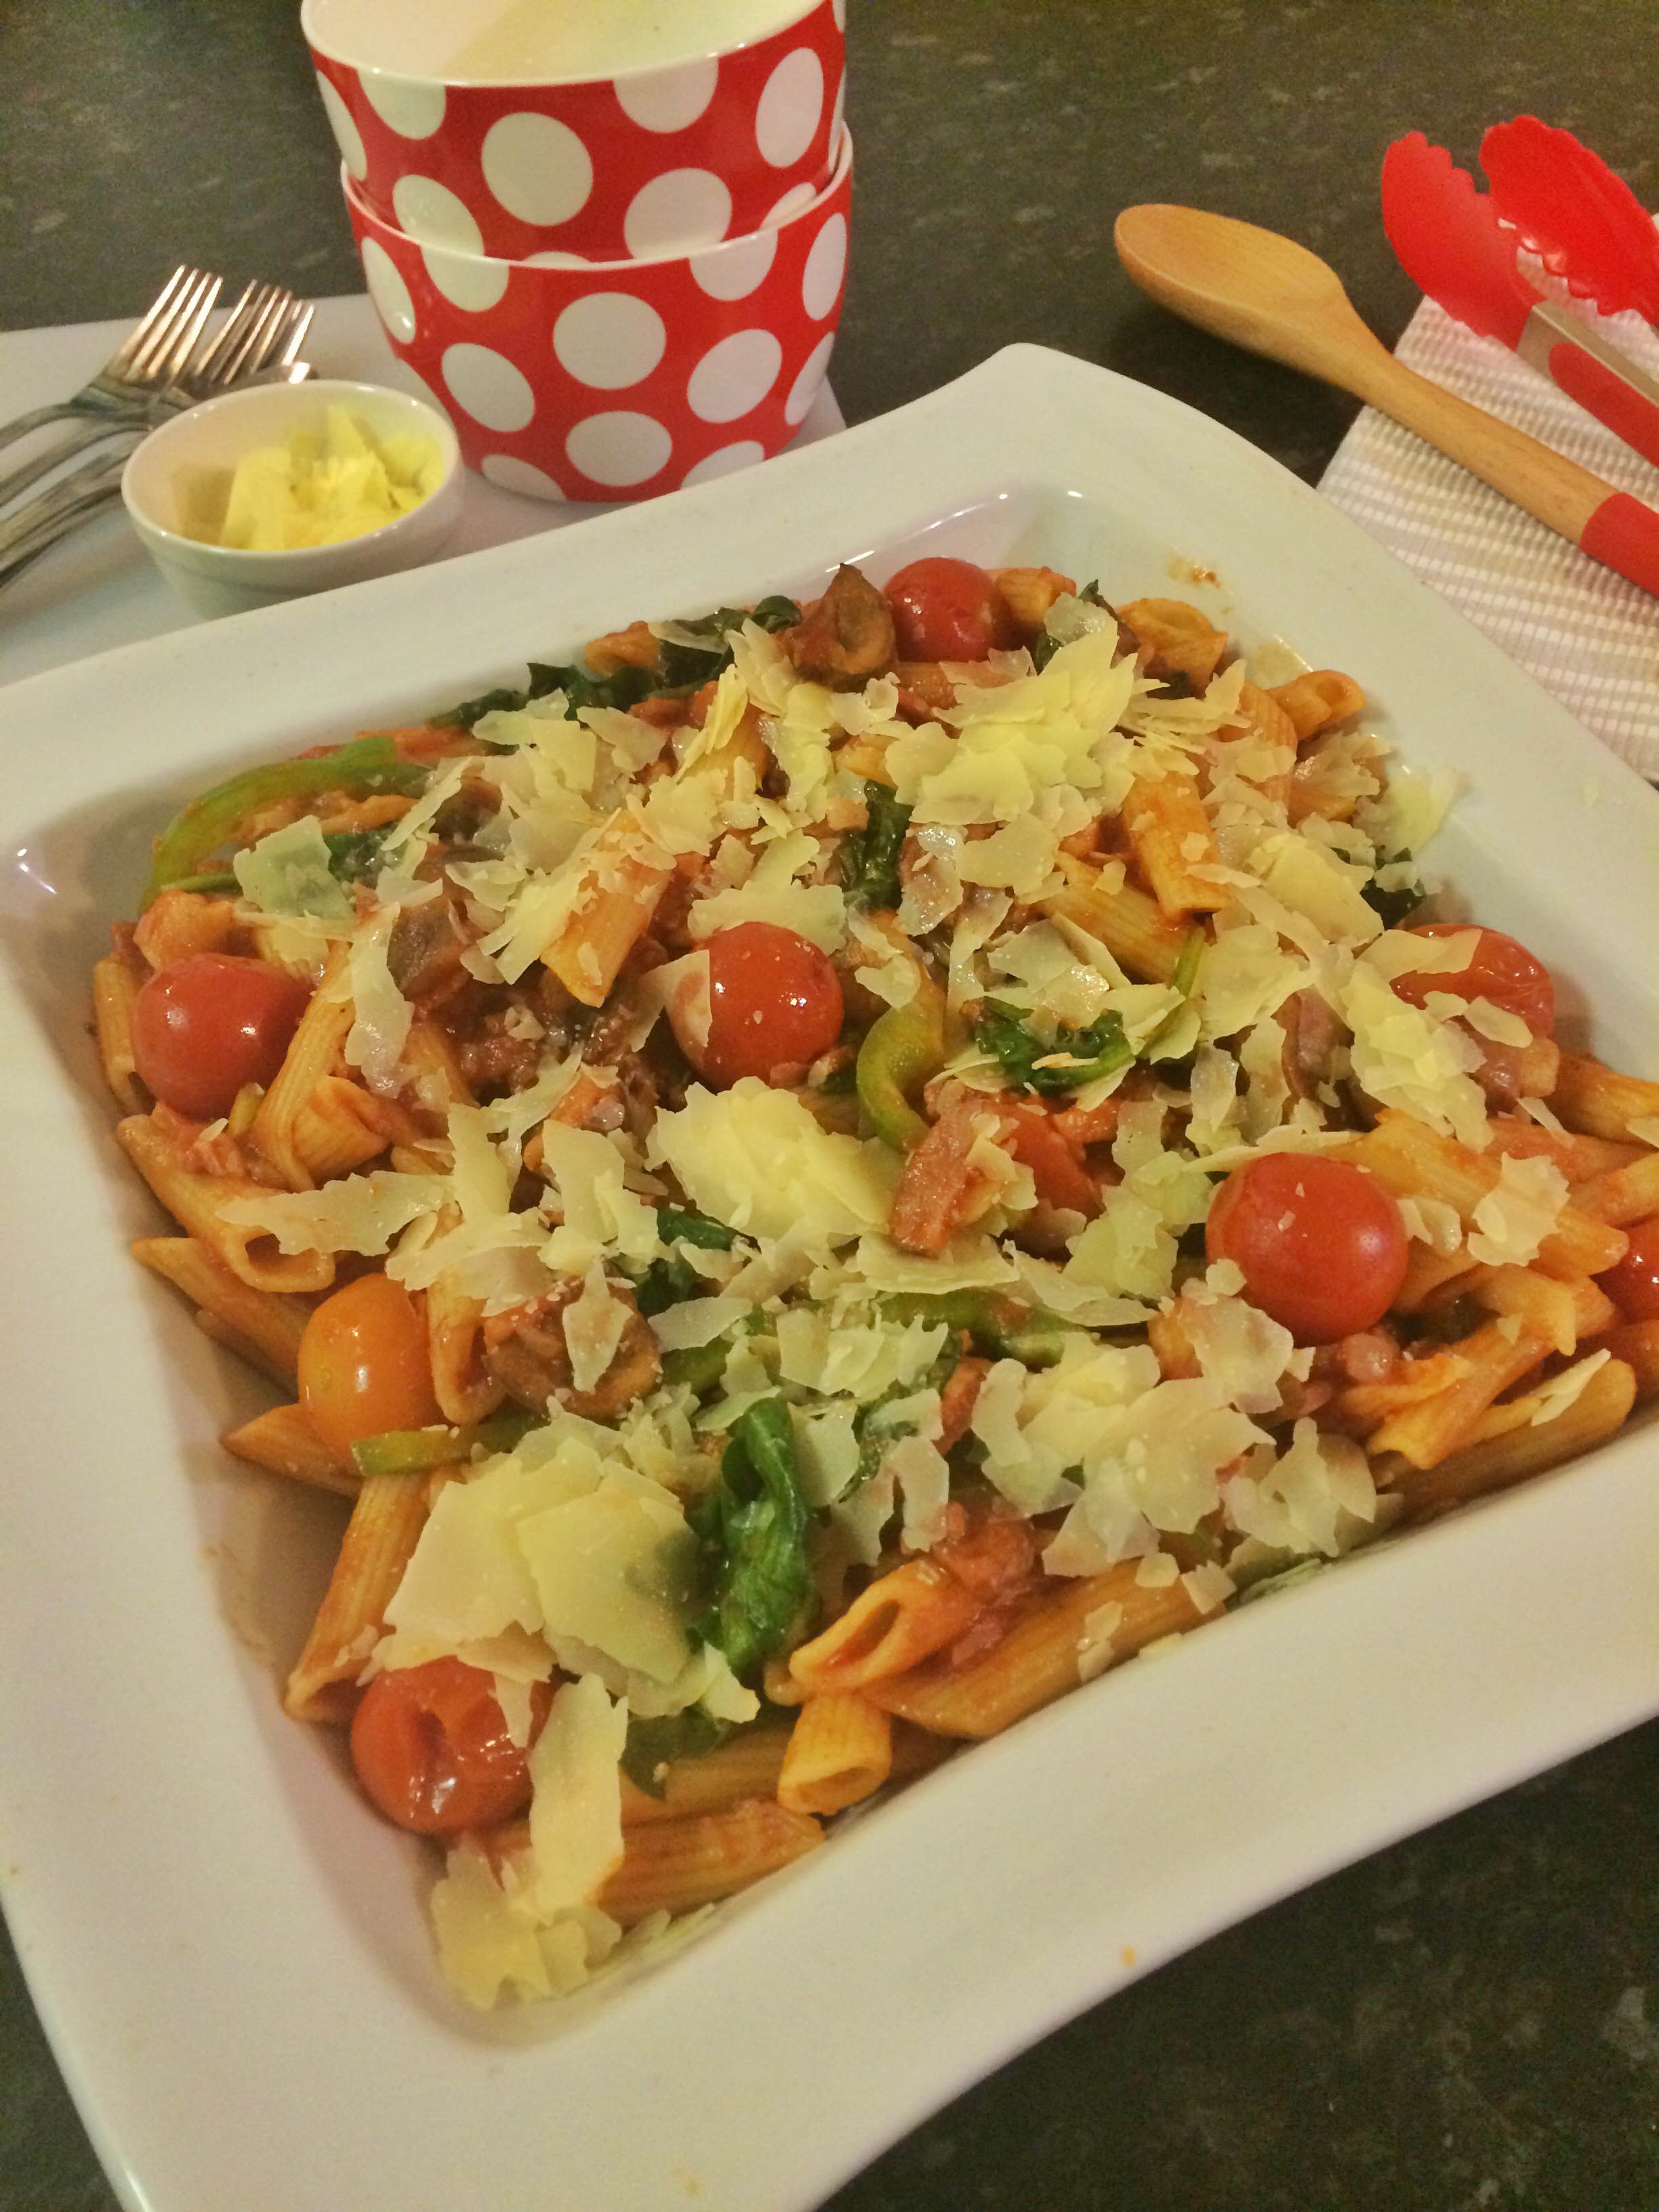
Presentation or ‘plating up’ (as they say on your favourite cooking show) is often the fun bit. Rather then snapping a quick photo of your meal at the bottom of your slow cooker, serve it up onto a plate or tray, giving it more mouthwatering appeal. Don’t worry, you don’t have to use your best dishes, but I know most of us will be eating from plates or bowls rather than straight out of the cooker (and yes, I may have eaten straight of the slow cooker on occasion).
Of course if you want to go the extra mile you might want to use your best crockery or even some props. A simple knife and fork, fancy tablecloth or serviettes and so forth can work wonders.
2. Lighting
Lighting can make or break a photo: not enough light and your food will look dark and grainy because phone cameras aren’t great in low light situations; too much light and you will have over exposed images that are hard to make out.
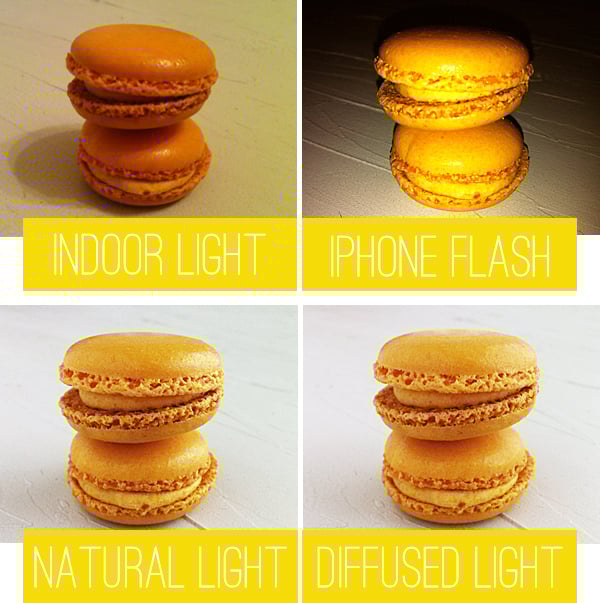
Here are a few lighting tips:
- Don’t use the camera flash. When you’re holding your camera a foot away from your dish and you use a flash, it’s going to look overexposed and cast a lot of shadows
- Try use natural light or move to a well-lit room
- Think about your shadow. If you’re holding your phone and the light is behind you you’ll end up with a black shadow over half your image
- Taking your picture of the food in the bottom of the slow cooker will make all of the above very hard as it’s usually a deep shiny bowl that will bounce light and cast big shadows from any angle.
3. Focus
When you’re taking a picture with your phone or camera, take a few and pick the best one. Sometimes your camera will automatically focus on the food, but other times it might decide to focus on the salt shaker on the other side of your table! (When in doubt, blame technology. Never the operator!)
4. Find the best angle and framing
This one is easy as well, don’t just settle for the first shot you take, get creative: try from up above; up close; far away; or down low. It only takes a few extra seconds and you can save and use the best one.
5. Make it appealing
This is my favourite. You need to tempt readers or people visiting the website or Facebook page to try the recipe themselves. It has to look delicious. I mean, you’ve gone to all of the effort of creating something amazing and it’s your chance to share it with the world. If we’re honest, most of us look at the picture first and then check out the ingredients and method. Don’t we?
Many of these tips are straight forward. In fact, most of us are a bit fussy when it comes to getting our own picture taken. We want to look as good as possible, so I’m keen to do the same for my kitchen creations. Who’s with me?
Any other suggestions or hints?
Leave us a comment with your best food photo tips 🙂